Swiss chard saute
This past weekend temps were above freezing.
I got excited.
I soaked up the sunny rays even though most of the snow banks blocked the sun from reaching my feet.
And I also got bold in the kitchen.
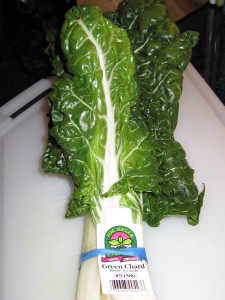
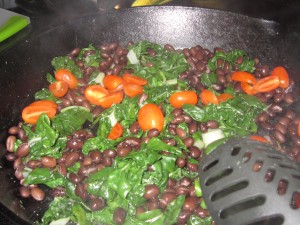
Enter my new friend: swiss chard.
Sadly I had never cooked with this little man before but oh is he green!
I mean how does that not look like the tastiest thing in the world?
So what do we love about this vegetable?
- a powerful phytonutrient- deep green color and various purple, yellow and red colors in stalks indicate the phytonutrient levels
- antioxidant & anti-inflammatory food
- incredible source of vitamin C, K, and A (supports immune & bone health)
- packs in a great amount of magnesium, potassium and iron
- uniquely known to help regulate blood sugar
Not a bad nutritional profile, no?
Now let's talk taste. Swiss chard is a tricky green. He is a bit bitter, a bit earthy and sometimes reminds me of what my hands smell like after a day in the garden.  That is of course unless you pair the swiss man with a few flavorful ingredients and bring out your favorite saute pan.
Take a look at this recipe and then go get yourself a piece of the swiss chard man. You won't regret it.
Swiss Chard Saute
Ingredients required:
- giant bunch of swiss chard
- can of cannellini, black or pinto beans (your choice!), drained and rinsed
- 1 sliced tomato
- 2 garlic cloves minced
- 2 tbsp olive or canola oil
- 1 tbsp of lemon juice
- crumbled goat cheese
Preheat oven to 350.
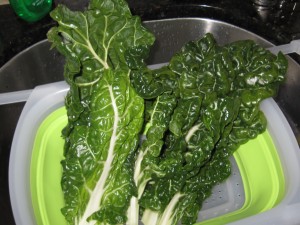
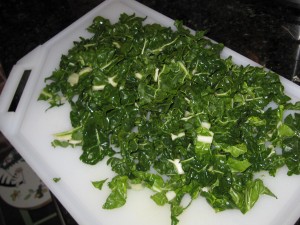
Wash swiss chard. Then slice into 1inch pieces- no exact science to this step. Just chop away!
Add oil and garlic to saute pan and heat on medium heat for 2-3 minutes.
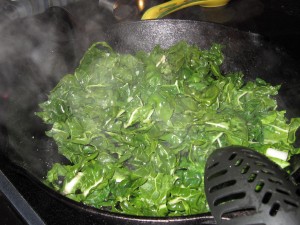
Add swiss chard and saute for 4-5 minutes. Swiss chard will cook down considerably.
Add beans and tomatoes to pan and cook for another 4-5 minutes.
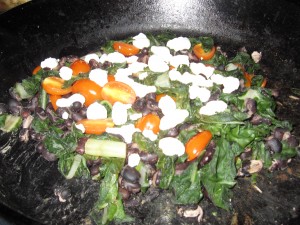
Pour mixture into an oven safe dish. Add lemon juice and sprinkle goat cheese on top.
** or if you have an oven safe skillet (cast iron for example), simply place skillet in oven to continue baking
Bake in oven for roughly 10 minutes or until cheese has melted. Garnish with salt + pepper if you like.
Enjoy!
We certainly did! I didn't even snap a picture when the dish was ready to be eaten. 
No related posts.
Related posts brought to you by Yet Another Related Posts Plugin.

